
Setup
How to Build a Local NVR on a Mac
A step-by-step plan for using a Mac as a local NVR with RTSP or ONVIF cameras, external storage, continuous recording, and timeline review.
1. Choose the Mac and network position
Use a Mac that can remain on during the hours you expect recording. A wired Ethernet connection is preferable for a permanent recorder because it reduces interference and roaming changes. If cameras are on a separate VLAN, allow only the required traffic between the NVR host and camera network.
Disable sleep behavior that would stop the app or detach storage, but keep normal screen sleep if desired. Plan for OS updates and restarts: the recording application should restore camera sessions, and you should verify that behavior instead of assuming it.
2. Prepare camera accounts and streams
Enable RTSP or ONVIF in each camera and create a dedicated account with the minimum permissions needed for viewing and PTZ. Avoid reusing an administrator password. Record the camera IP address, service port, and stream paths in a secure inventory.
If the camera offers main and sub streams, use the lower-bitrate sub stream for continuous recording and reserve the main stream for event clips or detailed live view. This reduces disk and decode pressure while keeping higher-quality evidence for moments that matter.
3. Attach and select storage
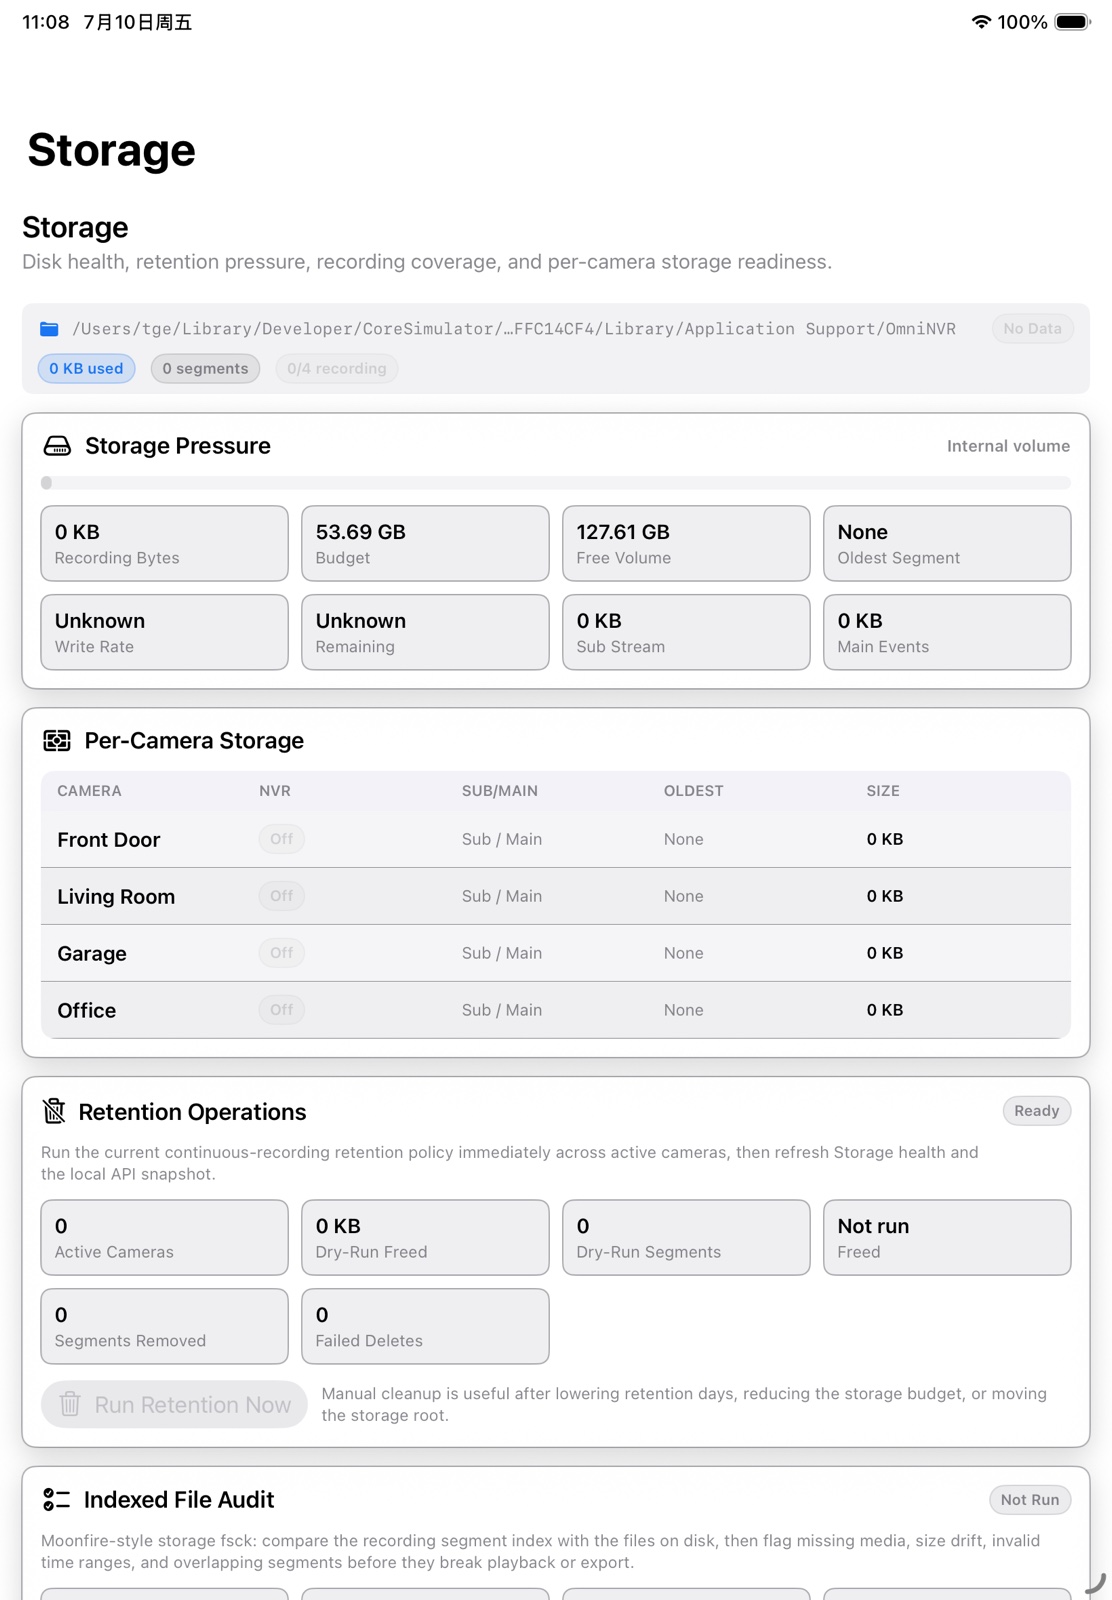
Choose storage sized for the aggregate camera bitrate and retention target. An external SSD is quiet and responsive; a hard drive can provide more capacity per cost. Keep a safety margin so the operating system and database are not competing with a completely full disk.
In OmniNVR, select the recording directory and confirm that the app retains permission to access it across restarts. Set both a retention duration and a storage budget. The shorter limit should win when space becomes constrained.
4. Enable cameras in stages
Add one camera, confirm live video, record for at least fifteen minutes, and test playback. Then restart the app and verify that recording resumes. Add remaining cameras in small groups while watching write rate, free space, CPU use, and dropped connections.
This staged approach makes faults attributable. If all cameras are enabled at once, a single malformed stream or weak Wi-Fi link can obscure whether the problem is camera-specific, storage-related, or system-wide.
5. Create an operating routine
Check the newest timeline segment, free space, and camera online state regularly. Test one exported clip before you need it. Keep the Mac, VPN, and cameras updated, and document how to restore the recorder after a power loss.
A local NVR is not “set and forget.” Reliability comes from simple checks, bounded retention, and tested recovery—not from adding more dashboards.
Frequently asked questions
Should a Mac NVR use an external drive?
It is often a good choice because recording writes are separated from the system disk and capacity is easier to expand. Use a dependable connection and verify that the volume remounts after restart.
How many cameras can a Mac record?
There is no universal number. Camera bitrate, codec, resolution, frame rate, analysis load, storage speed, and Mac model all affect capacity. Add cameras gradually and measure sustained behavior.
Can I close the Mac lid?
That depends on the Mac model, power state, display configuration, and sleep settings. Confirm that the app continues running and the storage remains mounted in your intended setup.
Sources and further reading
Build your NVR on the Apple devices you already own.
Monitor, record, review, and retain RTSP and ONVIF camera video locally.